Getting Started
Login
Login URL: https://research.seas.ucla.edu/wp-login.php
If you don’t remember your password, click “Lost your password?” Please check your email and reset it.
Dashboard
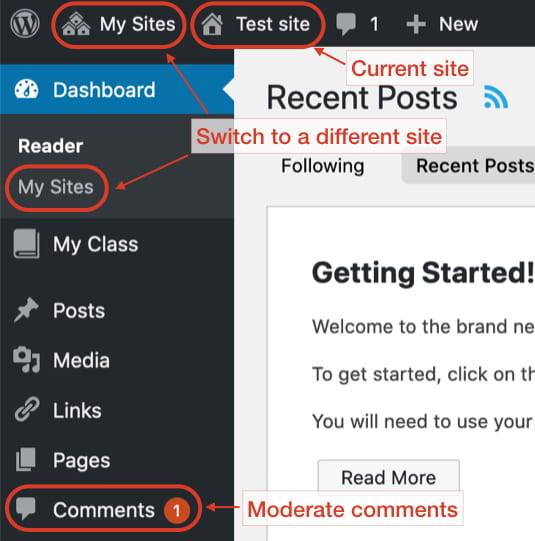
When you login to WordPress, you will be taken to the Dashboard. The Dashboard is the backend control panel for your sites. Here, you can create new pages and posts, manage comments, and activate plugins and themes.
If you have access to more than one site, you can switch to the dashboard of a different site by clicking “My Sites,” either in the sidebar or the top navigation.
Settings (Site name, tagline, homepage, and etc.)
When you login for the first time, please go through each menu under “Settings” and make adjustments as needed.
Here are a couple of important menus to review:
- General
controls some of the most basic configuration settings for your site: your site’s title and location, who may register an account at your site, and how dates and times are calculated and displayed. - Writing
controls the interface you use when writing new posts. - Reading
controls whether to display posts or a “static” Page as your blog’s front (main) page. You can also adjust how many posts are displayed on that main page. - Discussions
controls how visitors and other blogs interact with your site. Please check “Comments” below for more details. - Media
controls the various settings related to images and other media that are used in writing posts and pages. - Privacy
includes a Privacy Settings tool.
Note: The page includes help and suggestions for your privacy policy. However, it is your responsibility to use those resources correctly, to provide the information that your privacy policy requires, and to keep that information current and accurate.
Theme (design)
If you were provisioned the the default engineering template, please click on “Getting started with the default Engineering template” (the next topic) for a super quick guide on how to update your menu, header, footer, and contents to get your website ready in minutes.
If you were provisioned a blank site, we highly recommend that you start off with the Divi theme, which is the most popular theme in the world. The Divi theme is used for the default engineering template. Learn more about the Divi theme and Divi Builder.
You can choose any theme you want. To switch a theme:
- Go to Appearance -> Theme
- Hover over a theme you like and click “Live Preview”
- Click “Activate and Publish” if you decide to use it
Getting started with the default Engineering template
The Divi Builder is used for the default engineering template. It is a premium WordPress Theme and standalone WordPress plugin from Elegant themes that allows users to build websites using the visual drag-and-drop Divi page builder.
To just add content and go!
- Update the logo (Dashboard -> Divi -> Theme Options -> General)
- Update the footer
- Update the menu
- Update Pages/Posts
- ABOUT/RESEARCH/PEOPLE/TEACHING (Dashboard -> Pages)
- NEWS (Dashboard -> Posts)
Comprehensive guides:
Google Analytics

Tutorials:
Please review the “To Share or Not to Share” section and decide which method is right for you.
Index Your Site
If Google doesn’t index your website, then you’re pretty much invisible. An indexed website helps a site or page actually appear in search engine results.
Note: The following instructions are for sites with Divi.
- Go to https://search.google.com/search-console/welcome?action=inspect
- Select URL Prefix
- Enter your website URL
- Click Continue
- Expand “HTML Tag” in the other verification methods section and copy the tag
- Go to your website dashboard
- Click Divi on the left navigation
- Select Integration
- Paste the copied tag in the “head” section
- Click Save Changes
- Verify the tag with Google and follow the instruction
Reference:
Comments
By default, comments are not enabled.
To enable the comment feature for all the posts:
Please note that the change will apply for new posts. For existing posts, you need to change the individual settings manually.
- Go to Dashboard
- Settings -> Discussion
- Check “Allow people to submit comments on new posts”

- Configure the rest of the settings
- Click “Save Changes”
- Divi -> Theme Options
- Select “Layout” tab -> “Single Post Layout”
- Enable “Comments” if you would like to show posted comments on the page
- Enable “Show comments on posts”

- Click “Save Changes”
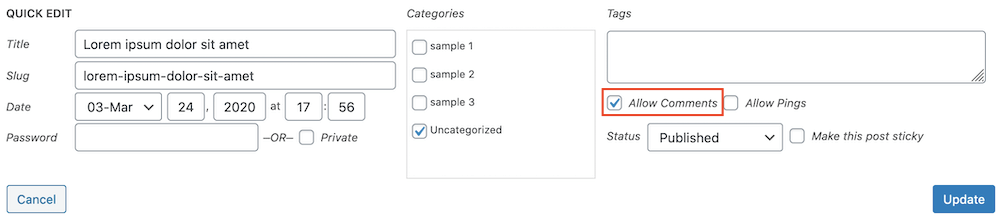
To enable the comment feature for an individual post:
- Go to Dashboard
- Hover over the post you would like to change the settings and click “Quick Edit”

- Click “Allow Comments” on click “Update”

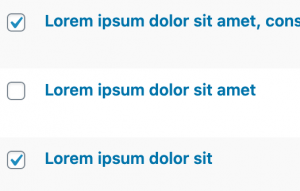
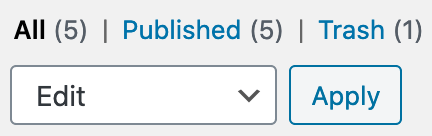
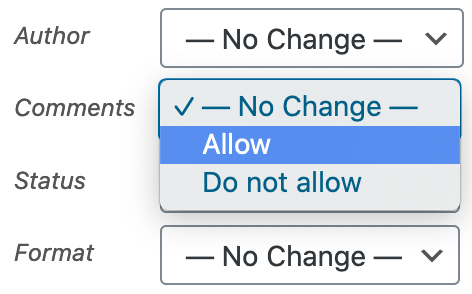
To enable the comment feature for multiple individual posts at once:
- Go to Dashboard
- Check all the posts that you would like to change the settings
- Change the “Bulk Actions” to “Edit” and click “Apply”
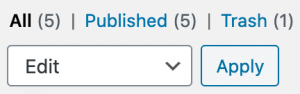
- Change the Comments dropdown to “Allow” and click “Update”


Users
Currently, the user registration is disabled. To add a new user, please submit a request form.
If the user is already registered in the system, you can add them to your site.
Add an existing user:
- Go to Dashboard
- Go to Users -> Add New
- Add the email address attached to their username.
- Select their role (Reference: user role)
- Click “Add Existing User”
Publications
Bibbase
Reference:
- Documentation: bibbase.org
- Example: csl.cse.psu.edu
- Paste the following code on the publication page. (Please replace URL-OF-BIBTEX-FILE with your URL)
<script src="https://bibbase.org/show?bib=[URL-OF-BIBTEX-FILE]&jsonp=1"></script>
Publications Manager Plugin
- Dashboard -> Plugins
- Enter “publication” in the search box
- Activate Publications Manager
- Read documentation and start editing
Google Sheet
If you’re comfortable with JavaScript, this can be your option. Please check the example.
Contents update and site migration
If you need any assistance for the site migration or content updates, please contact CampusPress at https://campuspress.com/introducing-new-services-site-building-migrations-and-content-updates/ for a quote.
For additional assistance, please see http://docs.campuspress.com/en